What do you need to know?
Add tags for MP3 files
(Go directly to instructions for adding tags.)
MP3 files have some special information that lets people listen and search for recordings more easily. You are already familiar with some qualities that all files have. For example:
- File Name
- Date Modified
- File Type
- File Size
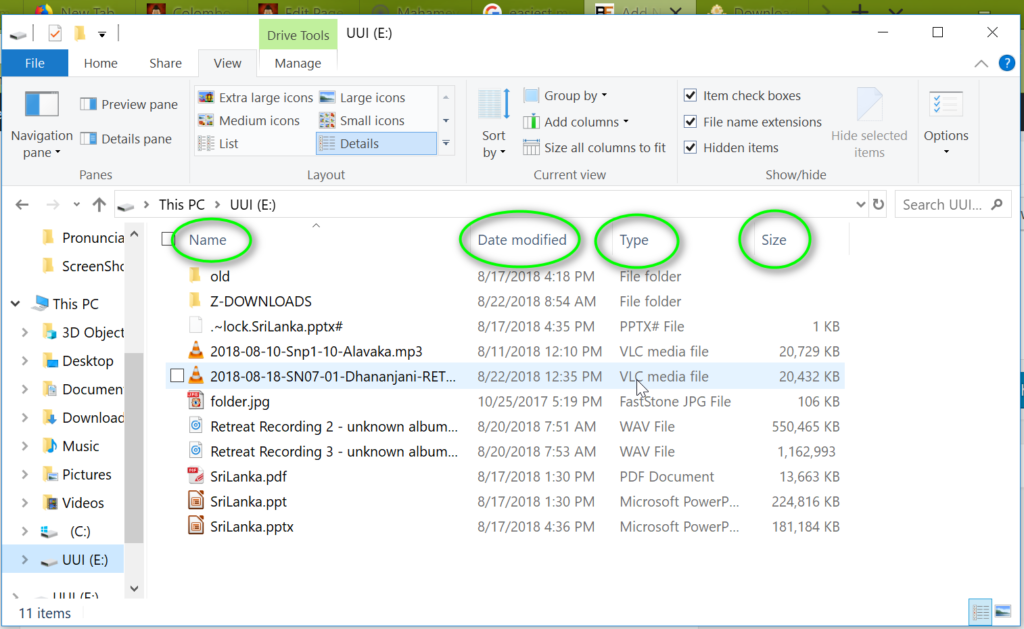
But Audio files, especially mp3 files, have some special extra qualities such as
- Title
- Artist
- Album
- Album Cover
This allows people using devices like iPods to organize their music more easily.
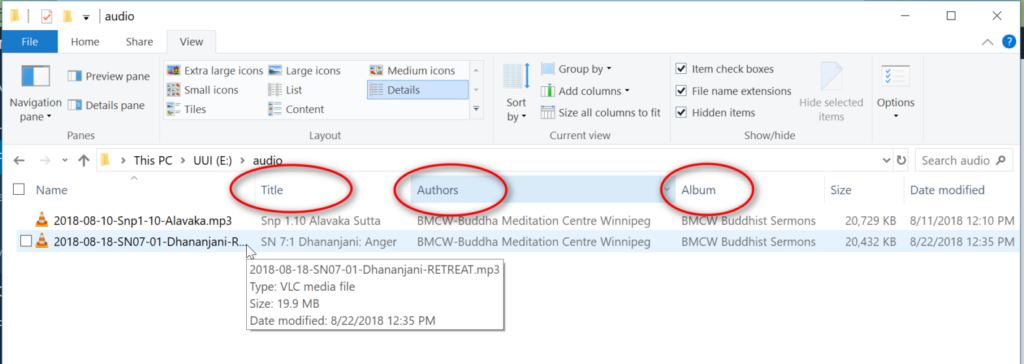
So before uploading mp3 files, we should put this extra information in the file using something called an MP3 tag editor
Install the software
NOTE: Always check with the owner of the computer before installing (the bhantes, your parents, etc.)
One of the best pieces of software on a Windows computer is found at https://www.mp3tag.de/en/download.html
Once there, click on the “mp3tagv289asetup.exe” or whatever the latest version is:
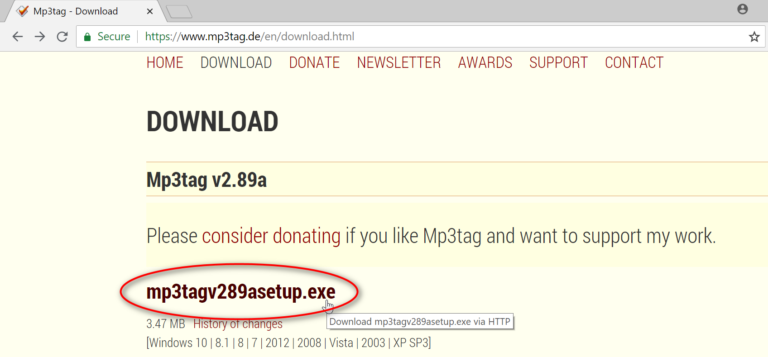
Then run the exe file to install. You can choose the “Standard Installation”
Adding Tags to an MP3 file
Run MP3Tag software. The icon looks like this:
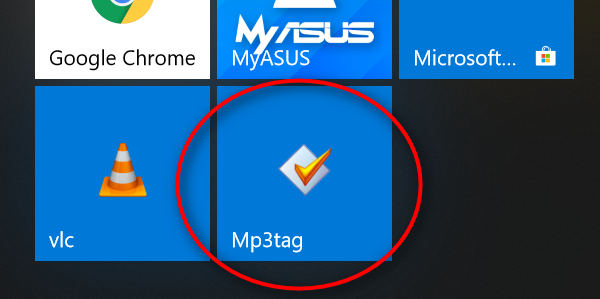
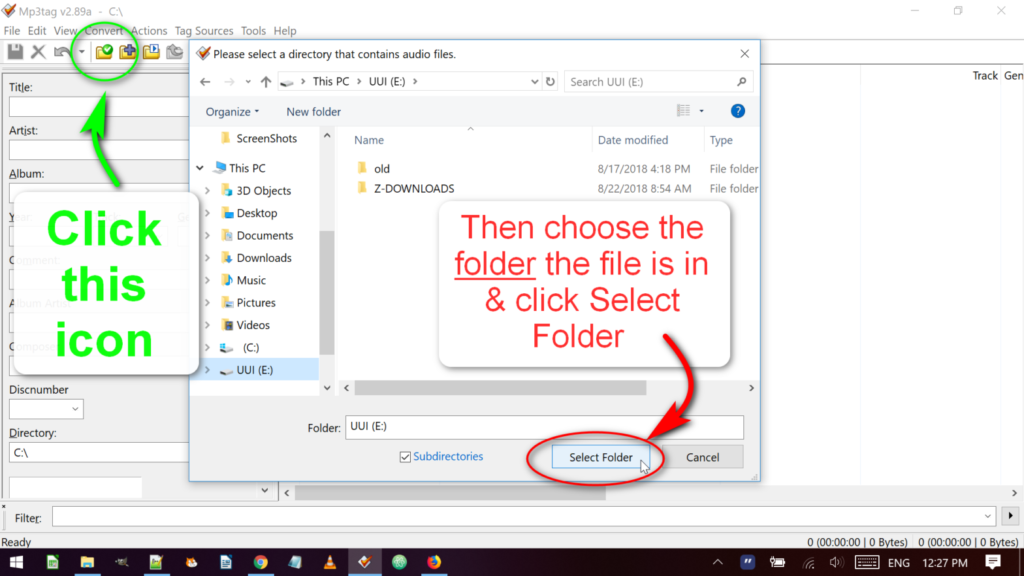
Next you will have to choose the directory that the mp3 file is in.
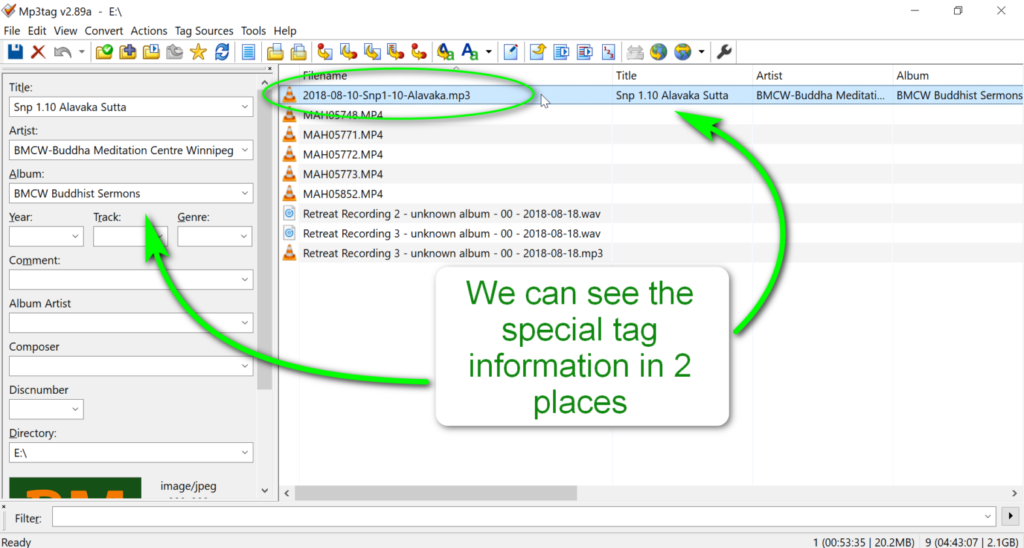
Now you will see the mp3 files in that folder. In the example below, the first file in the list has the mp3 tags of Title, Artist, and Album. We can see the same information in two places when it is selected.
What to put in the tags?
Title
The title should be the name of the individual track or episode name. For some podcasts we include the episode number. For example
- 209 The Story of Kali Yakshini, Part 1
- Why do we get angry?
- Ratana Sutta Pali-English
DO NOT include the name of the podcast. See below
Artist
For most files this will be Colombo Dhamma Friends
Album
This should be the name of the podcast or category. For example:
- Monks in the Morning
- Dhamma Kids Podcast
- Paritta Chanting
Please check with the Bhantes before doing your first file.
Adding the tags
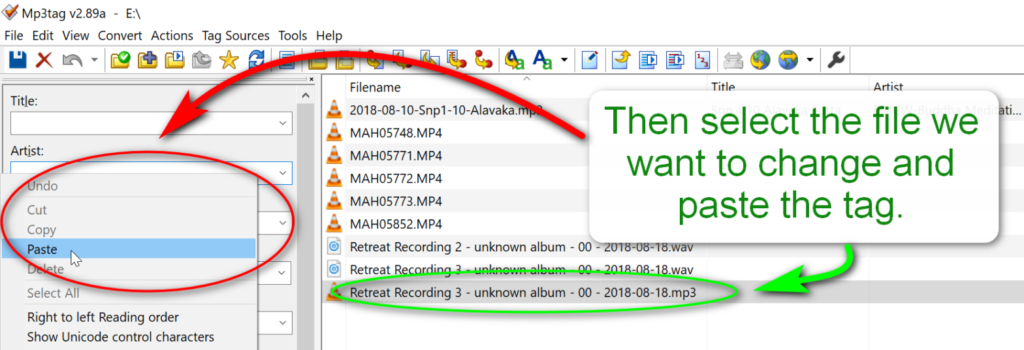
If there is already a file that has the correct information in the tags, we can select the file and copy the tag information one by one. Here, we are copying the Artist information, “BMCW-Buddha Meditation Centre Winnipeg”

Then we can select the new file and paste the information in the proper tag. We can also just type it directly, but it is better to copy it so we know it is exactly the same as the previous files we have uploaded.
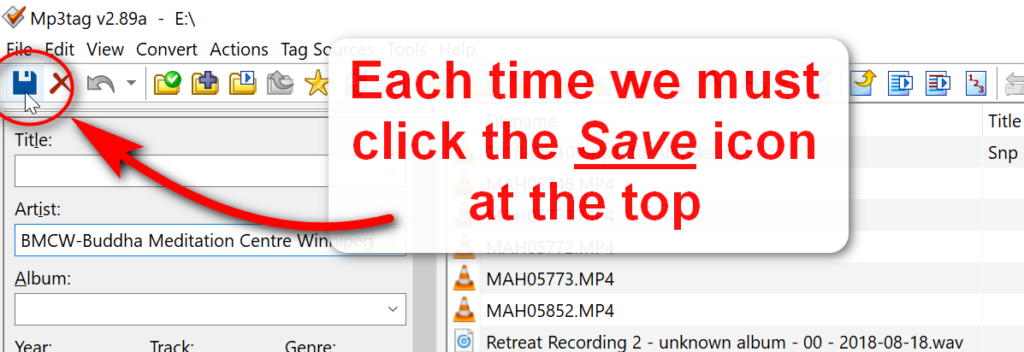
Each time we must click the Save icon at the top.
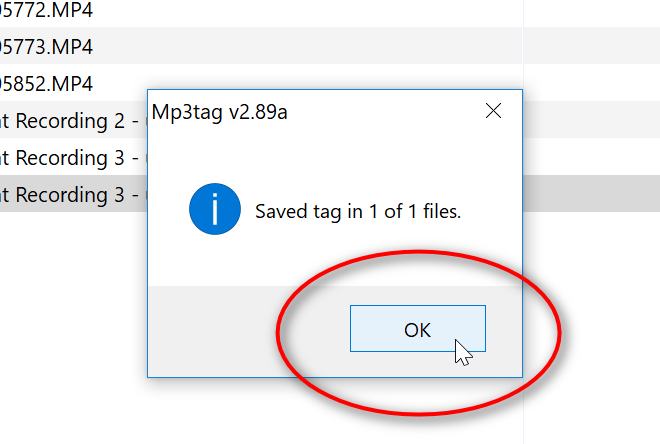
#. Then click the conformation box. You can tell the software to skip this confirmation if you go to File>Tools>Options>Messages and uncheck “after save,” and “after change.”
We can also change things in the columns, including the file name. Still we must click save each time.

Add Album Cover
NOTE: For podcasting, album covers should be 1400 px by 1400px and around 200kb. It is important to check this, otherwise iTunes may reject the podcast.
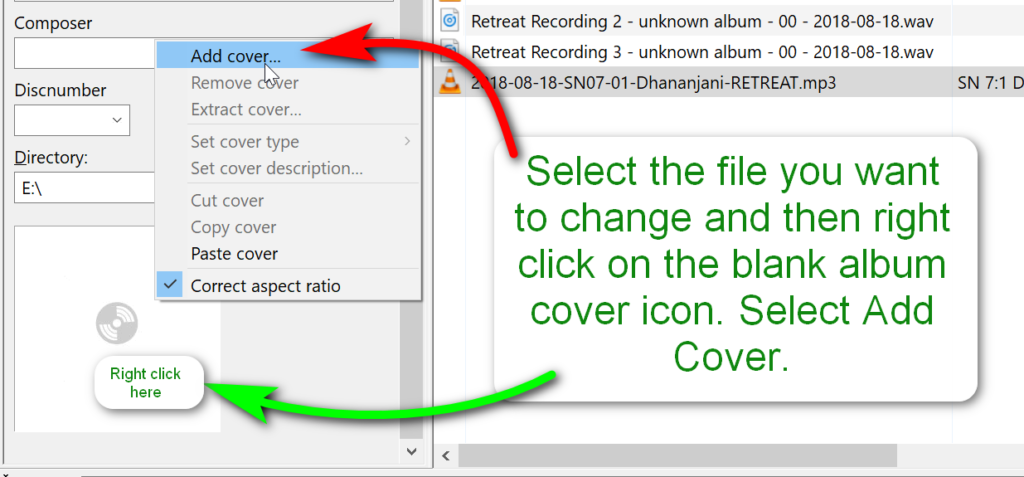
One great feature is adding an album cover. You will need a square .jpg file. With the mp3 file selected, right click on the album cover icon at the bottom of the left column. Select “Add cover…”
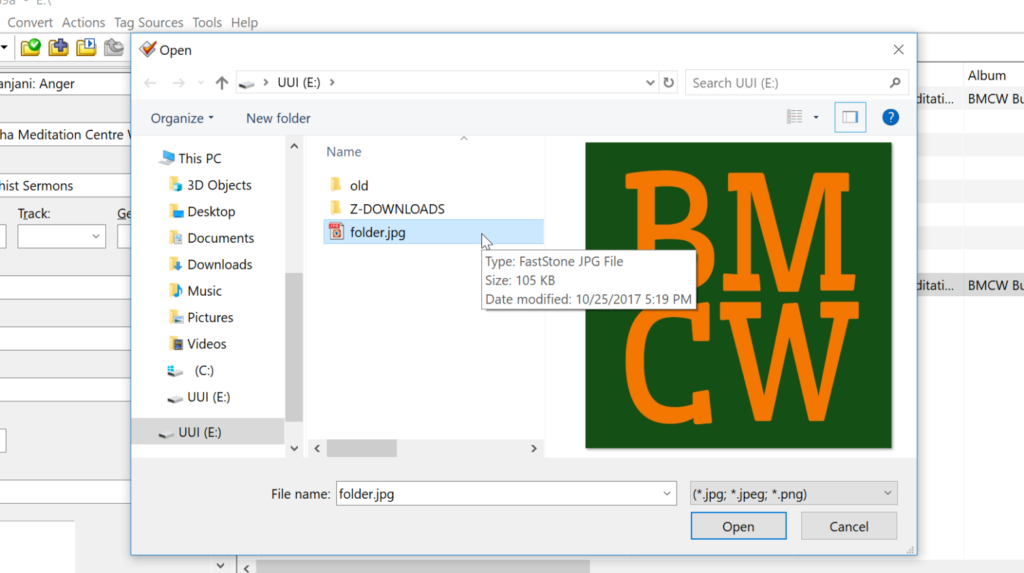
Then just as you usually would, find a square jpeg file to use as the album cover and then click open. Don’t forget to click save.
Here you can see the difference between an mp3 that has the album cover and one that doesn’t:
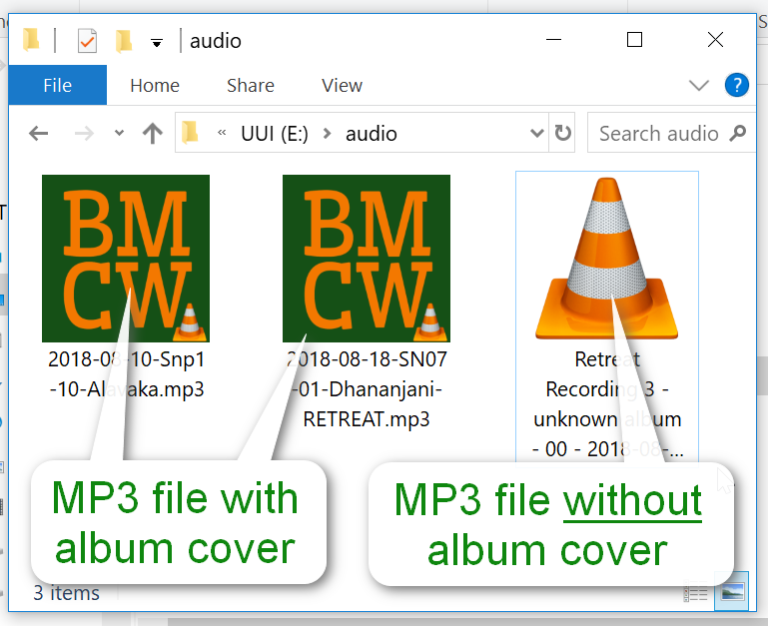
Cool, eh??
That’s it. Be sure you have clicked save and you are done. This is a big help to people who listen and it will make sure they know where the recording was made.